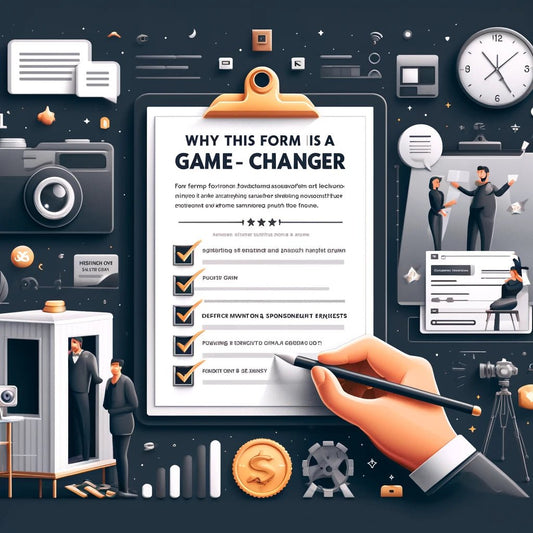
Master Your Photo Booth Lighting Setup in 5 Easy Steps
Master Your Photo Booth Lighting Setup in 5 Easy Steps
Good lighting can make your photos look amazing! Let's learn how to set up lights for your photo booth using strobes like the Godox DP600III or Paul Buff’s AlienBees. We'll show you how to choose the right equipment and perfect your setup, helping you capture stunning photos that guests will love.
Key Takeaways: Photo Booth Lighting Setup
- Choose strobe lights (e.g., Godox DP600III or AlienBees) for powerful, flattering light
- Use a three-point lighting setup for balanced results
- Add diffusers or modifiers to soften light and reduce harsh shadows
- Test your setup with different people to achieve optimal results
Why Lighting Matters in Photo Booths
Good lighting in photo booths is important because it:
- Makes people look their best by reducing unflattering shadows
- Creates the right mood for the event
- Ensures clear, colorful photos
- Helps your booth stand out by producing high-quality images
- Makes the experience more fun for your guests
Step 1: Choose Your Light Sources
First, select the right lights for your photo booth. Strobe lights like the Godox DP600III or AlienBees provide powerful, consistent, and flattering illumination. Unlike continuous lighting, strobes freeze motion, making them ideal for capturing sharp, vibrant images, even with energetic guests.

Step 2: Position Your Lights
Now, let's set up your lights. Here's a simple three-point lighting setup that works well for most photo booths:
Main Light
Put at a 45-degree angle to the person, slightly above eye level
Fill Light
Place opposite the main light to soften shadows, not as bright as the main light
Back Light
Set behind the person to create depth, angled to avoid bright spots in the camera
Step 3: Add Diffusion and Modifiers
To make the light even softer and more flattering, you can use diffusers or modifiers. These spread the light and reduce harsh shadows. Some options include:
- Softboxes: Create a large, soft light that wraps around the person
- Umbrellas: Spread light over a wide area, great for group shots
- Diffusion panels: Attach to your light to soften and spread it
- Beauty dishes: Create focused yet soft light, perfect for close-up shots
- Grids: Control light direction, useful for adding drama to photos
Step 4: Understand Color Temperature
Strobe lights typically have a fixed daylight-balanced color temperature (approximately 5600K). This standard daylight temperature ensures skin tones appear natural, healthy, and vibrant, enhancing the overall quality of your photos.
Step 5: Test and Adjust
Finally, test your lighting setup thoroughly. Capture practice shots with diverse individuals and outfits, checking for:
- Brightness: Ensure photos are well-exposed without being overly bright or dark.
- Shadow quality: Aim for soft, natural shadows that enhance facial features.
- Skin tones: Confirm that skin colors appear natural and attractive.
- Background lighting: Verify that the background is evenly illuminated.
- Eye sparkle: Look for attractive catchlights in eyes, adding life to portraits.
- Color accuracy: Make sure the colors captured match real life.
Conclusion: Light It Up!
Now you know how to set up lighting for your photo booth! Remember, practice makes perfect. Try different things until you find what works best. As you get more experience, you'll learn how to make everyone look great in your photos. Have fun and happy snapping!
Want to learn more about photo booth equipment? Check out our collection of photo booth accessories to make your setup even better!